Prairie River Bridge | Final Details
May 12, 2023
Introduction
In the last post, I had just completed the wooden deck and added the metal walkways to both sides of the bridge. In this final episode of the Prairie River Bridge construction series, I will be adding the final details, including the handrails, the concrete piers, and the ballasted track.
Handrails
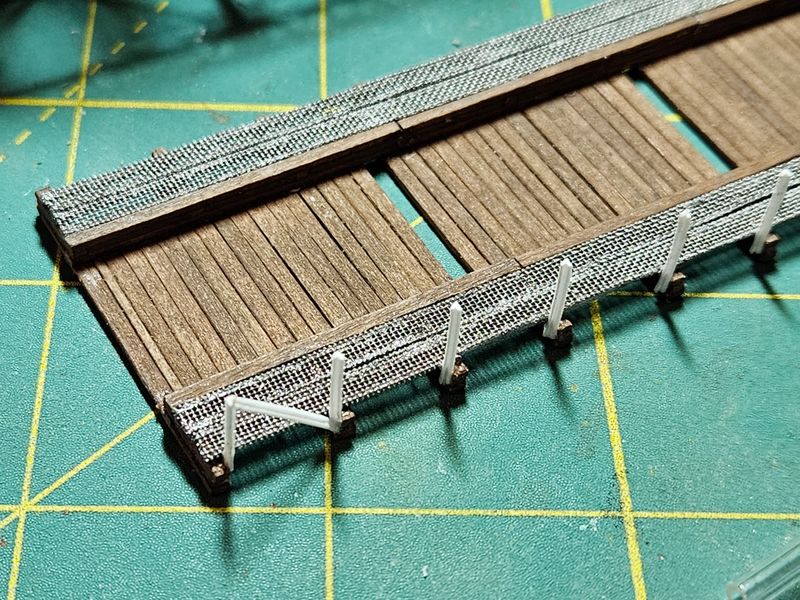
Angle iron for the handrail posts is fabricated from 0.020" and 0.030" strips of 0.010" styrene from Evergreen Scale Models. The angle iron is cut into scale 5' 6" lengths and fastened to the sides of the longer deck beams using Zap canopy glue as shown in Figure 1. Longer pieces of angle iron are cut to fit and installed on a diagonal to support the end posts.
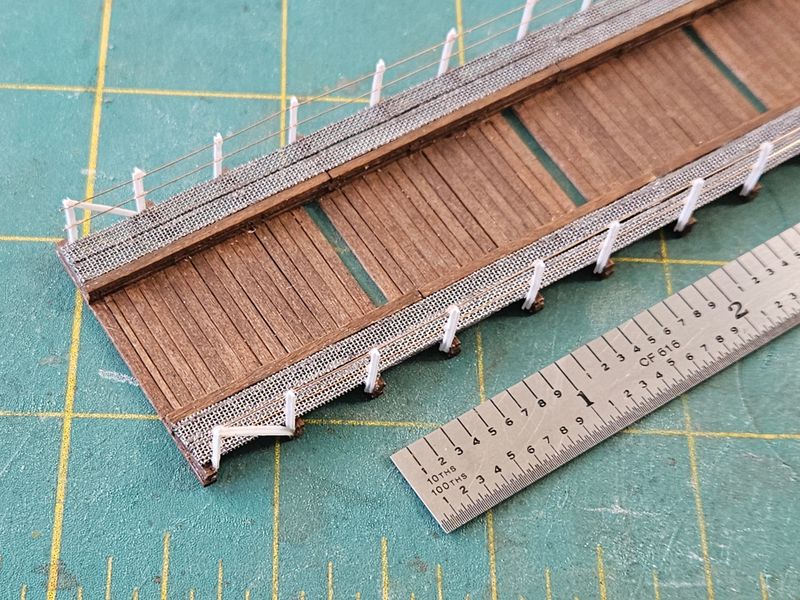
After adding the remaining handrail posts to both sides of the deck, handrails are fabricated from 0.008" phosphor bronze wire from Titchy Train Group and fastened to the handrail posts using canopy glue as shown in Figure 2. The wire is shorter than the main span, so pieces are cut to length and overlapped on the ends. The handrails are given several thin coats of whitewash after final assembly.
Concrete Piers
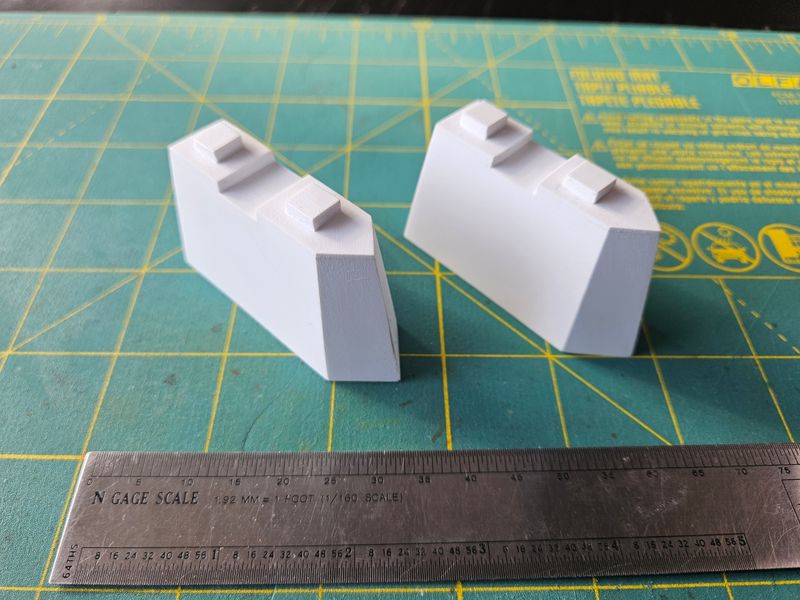
The concrete piers on the prototype have angled edges on the upstream (north) side, forming wedges to break up ice coming downriver in the spring and preventing damage to the bridge. It is likely that new piers were poured when the center truss was added in 1929. Another unique feature of the piers is the center notch on top to allow room for the center truss that sits three feet below the two outside trusses.
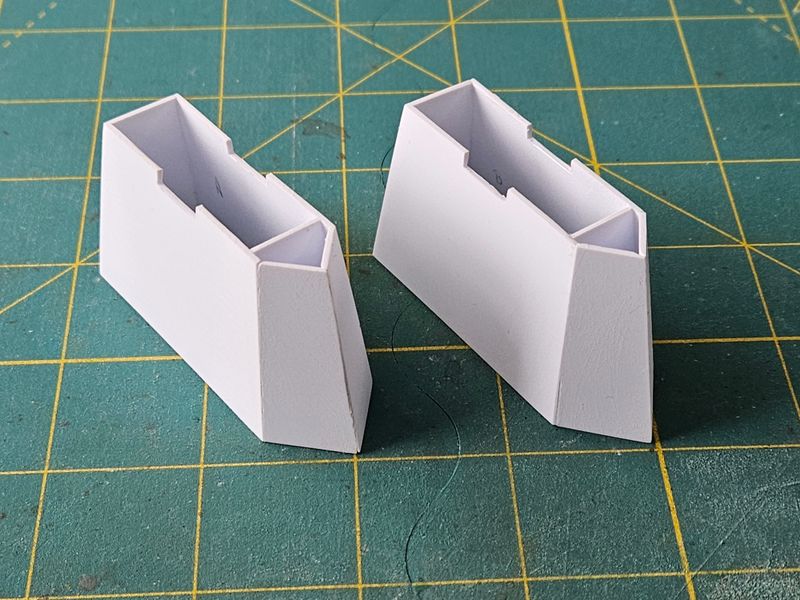
Five side pieces are cut from 0.040" styrene and assembled into the basic shape of the concrete piers as shown in Figure 3. The edges of the pieces are beveled to allow the pieces to be fastened together easier. Notches are cut in the top of two of the sides and an extra cross piece is added to add some additional strength.
Additional pieces of 0.040" styrene are cut to cover the tops of the piers as shown in Figure 4. Several pieces of scale four-foot square styrene are layered to form the footings that support the ends of the two outer trusses and are fastened to the tops of the piers. The seams are sealed with a mixture of solvent and styrene dust and the entire assembly is lightly sanded. The piers are given several thin coats of Floquil Aged Concrete. The Floquil line of paint has been discontinued for quite a while, but Buff acrylic from Valejo is a close match.
Track
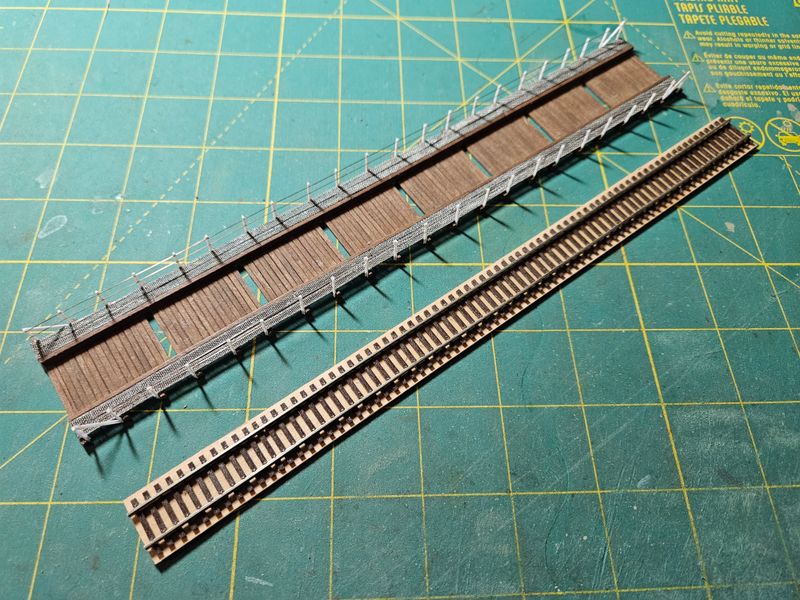
A scale 10' by 136' strip is cut from 1/16" basswood sheet to support a section of Atlas code 55 flex track as shown in Figure 5. The track is fastened to the basswood using a thin coat of canopy glue and allowed to dry under weights on a flat surface to prevent warping. The track was originally going to be hand-laid but would have required gluing the rails to the ties since the deck is too thin to hold spikes.
The track is ballasted using fine gray ballast from Woodland Scenics as shown in Figure 6. Pieces of scrap strip wood are glued across the ends of the deck to act as a dam and a sheet of plastic wrap is laid over the track area. The track assembly is placed in position and ballast is added. The ballast is wet with isopropyl alcohol and secured using scenic cement. After the scenic cement is dry, the ballasted track assembly is removed from the deck, and the plastic wrap is peeled away.
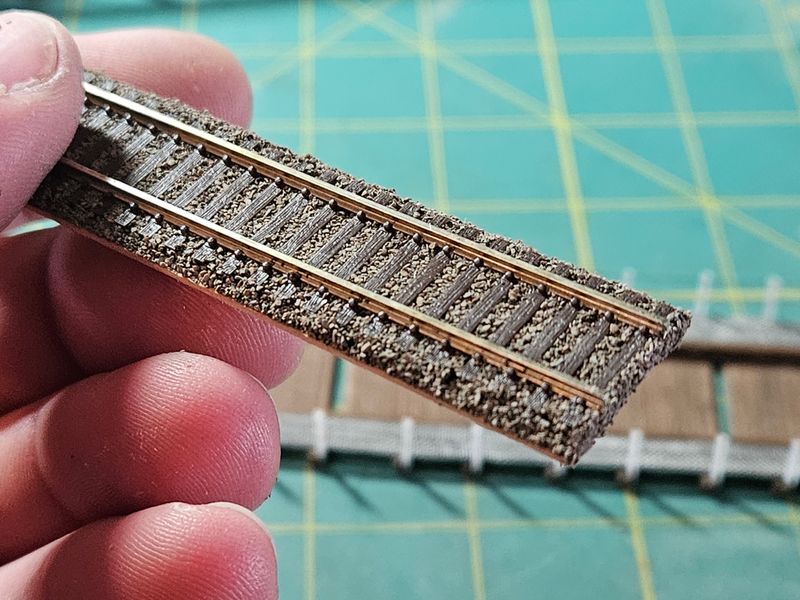
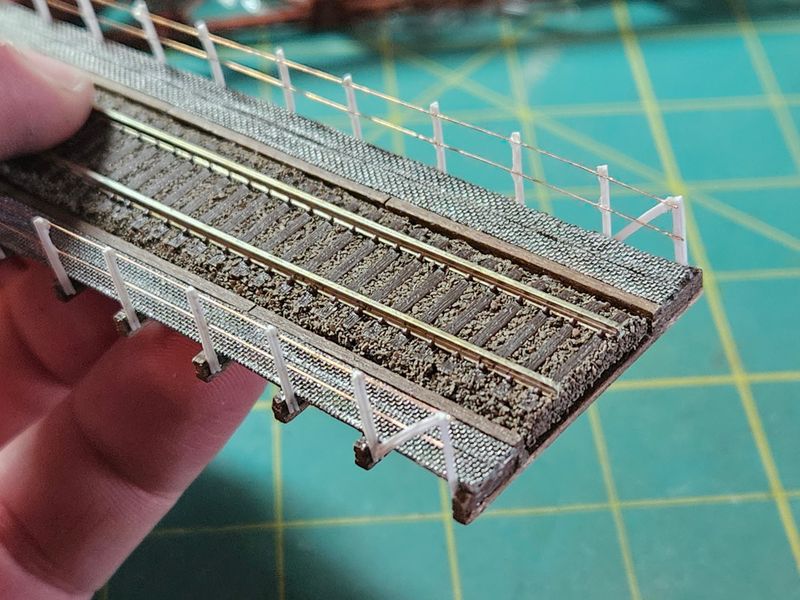
The ballasted track is temporarily fastened to the deck using a couple drops of canopy glue as shown in Figure 7. This allows the track to be removed later, if necessary. The sides of the track are painted with several thin coats of DecoArt Charcoal Grey acrylic, the ties given a light coat of brown, and the tops of the spikes dry brushed with rust. The ballast is weathered using Monroe weathering powders.
Conclusion
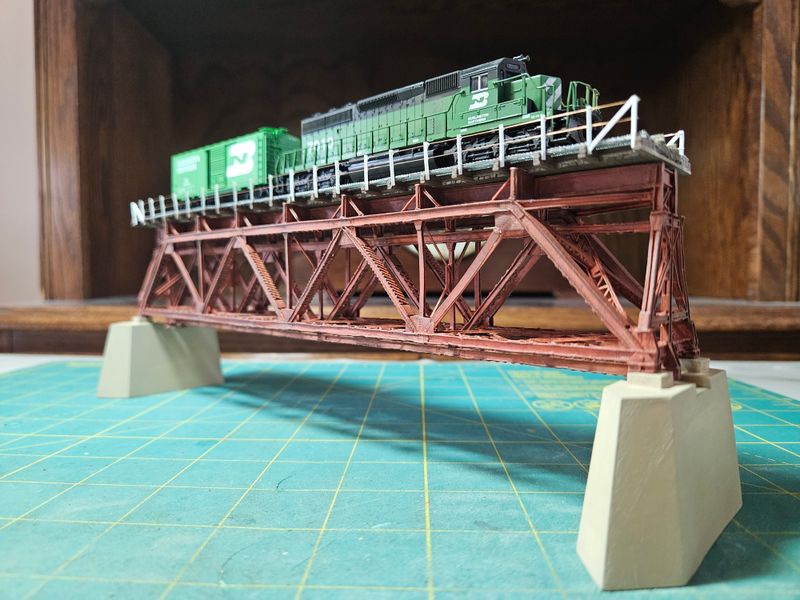
The main span was attached to the concrete piers and the deck was placed on top of the trusses as shown in Figure 8. This completes the Prairie River Bridge construction series. The project will be on display in the celebration room at the 2023 convention of the Thousand Lakes Region of the NMRA in Bloomington, MN. I will also be having it evaluated for the second structure of my Master Modeler - Structures certificate for the NMRA Achievement Program.
Eventually, I will need to build a river scene and add the steel plate deck approach spans, but I will leave that for now. Overall, it has been an interesting project and I learned a lot about history and bridge construction in the late 1800s. Now I need to figure out a subject for my next scratch building project!
